

The "tilt-shift" name was probably coined from the tilt-shift lens, which obscures an image in such a way that the photographer would seem to be positioned at a more elevated location with respect to the object than they actually are. Say you're trying to photograph a tall statue, but you can't seem to get far enough away from the statue to get a good shot of it straight on. Using a tilt-shift lens would help create a more 'straight on' look from such an odd angle.
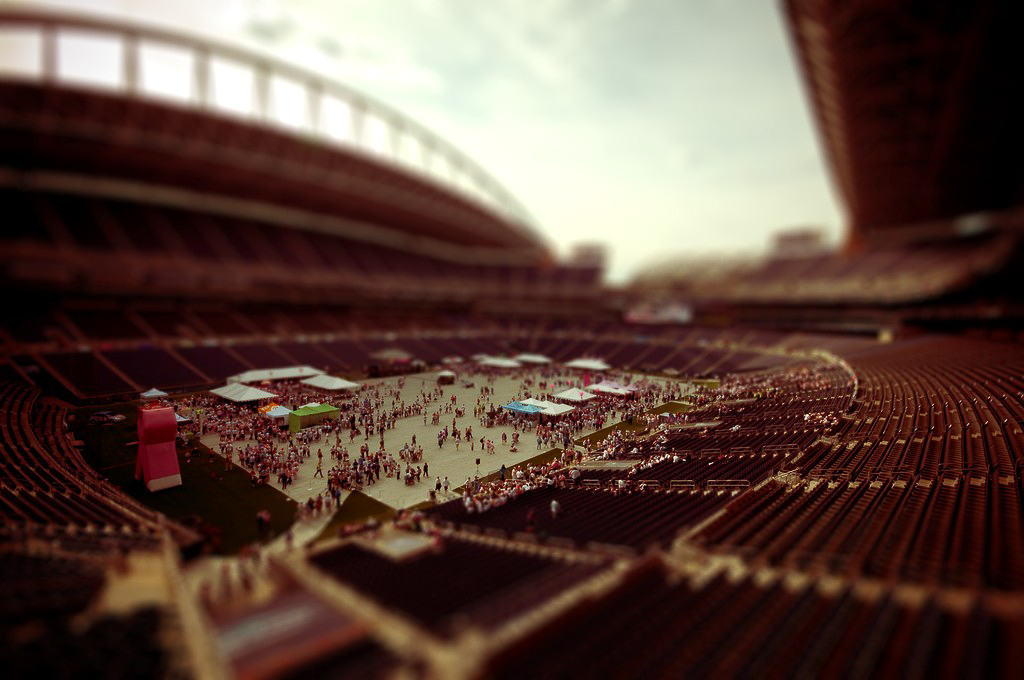
The tilt-shift effect, on the other hand, usually refers to the post processing and selective focus of a scene. That is, much of the scene is blurred, while a bit of the image, usually a horizontal line across the image, is focused. This forces your eye to the focused point of the photograph where the intended focal point of the image is located. Using this effect for cityscapes from above makes you feel like the cityscape is a tiny playset on a table, usually because this blur/focus effect takes place naturally with macro lenses, for objects that are very close to the camera. Examples of tilt-shift processing:

Post processing techniques can occur in programs such as using blurring tools in Photoshop. There are online resources you could use if you'd like to achieve this effect for free, however difficult to find! This one is originally for mobile use, like on your iPhone, but you can use it on your computer, as well. Not only does it tilt-shift, but it also vignettes (darkens the corners and edges), an effect of dark room photography. Also, you can choose radial, vertical, horizontal, or any angle of tilt-shift. This one is also available, and with bokeh effects! But I've noticed that there are problems with that function. Sad face! Everybody loves bokeh!
Bokeh is the effect of the blur in an image. Sometimes the bokeh is pleasing enough to be a huge part of the intent of the photographer, even the main focus, however oxymoronic that may sound! Usually good bokeh are in the form of these glowing, sharp edged balls of light coming off from the distance, or in macro photos, they are just beyond the point of focus.


Yet at other times, the bokeh could be in the form of a distortion of the background, but in a very pleasing kind of way.


Bokeh go pretty much hand in hand with low aperture and a narrowed depth of focus. Aperture is how open or closed your lens is (how much light is let in). Low aperture means that your lens is very open and high aperture means that your lens is almost closed. On your camera, the aperture number is in the format F #, like F 1.8, a low aperture commonly used for bokeh effects.
The main factor in the difference between the two bokeh effects mentioned is the amount of light in the foreground and background of the subject matter. If there is a dark background and your subject reflects light well, like a water droplet, then using a flash with a low aperture in this setting will create distinct ball-like bokeh. On the other hand, if there is a lot of light in the background behind your subject, then you'll most likely get the distorted effect.
Want some help setting up a good background for bokeh magic with close up shots? Behind your subject, such as a flower or a person's face, set up a sheet of bubble wrap or a scarf/garmet with glitter or anything that shimmers. Take the picture with a low aperture focused on your subject and you should get some pretty nice bokeh circles. Using a flash will brighten your bokeh effect, but use your flash only if your subject won't become bleached out. Size of your bokeh will depend on how far away your glittery set up is away from your subject: further away will give larger bokeh while a closer set up will give smaller bokeh.
Click images for their sources.
Written by Abs
Now this looks cool!
ReplyDeleteThis is awesome. I'm already trying it out. :]
ReplyDeleteThis looks like a cool effect, might try fixing up a few photos on Photoshop using the blur to create a similar effect. Thanks. :D
ReplyDeletevery cool to know.
ReplyDeleteAwesome! I'm still trying to learn how to properly use my camera, so this definitely helps me out a lot. Hopefully I can try to use this soon :D
ReplyDelete